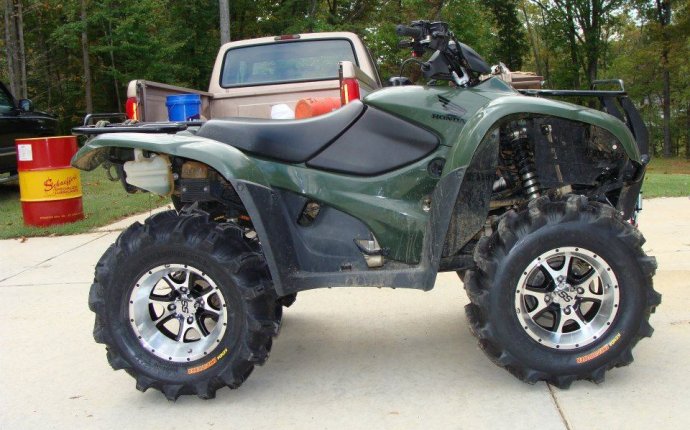
Honda ATV Lift Kit
 Lifting your ATV gives you improved ground clearance and an overall better ride on rough terrain. Lift kits can be professionally installed at mechanics' shops or at the dealership prior to sale, but installing your own lift set is also possible. Once your aftermarket lift kit arrives in your garage, you can install it yourself in just a few steps.
Prepare the ATV
Before you begin the modification, prepare your ATV. Lift the vehicle on sturdy jack stands, properly braced, and make sure the ATV cannot shift while you're working under it. Give the undercarriage a thorough cleansing with a pressure washer to remove the caked-on dirt and mud that are a sign you've been driving your ATV the way it was meant to be driven. Let the area air-dry before starting work.
Lift the Front
Remove the front shock and both wheels. Position the large spacer inside the lower shock mount. Make sure the front tube bracket faces inward and down, then secure the piece with a nut and bolt from the installation kit. Put the shock back on the tube bracket, separated by the small spacer. Attach the flat bracket behind the mount, extending inward to the center of the ATV chassis. Use a hex bolt and a heavy-duty lock nut to secure the bracket. Replace the front wheels.
Lift the Back
Remove the rear wheels and shocks. Put the large spacer on top of the rear shock mount, then install the large rear tube bracket. Tighten it down with a wrench. Install the rear flat bracket as you did with the front flat bracket. Loosely connect the rear tube bracket, large spacer, and flat brace with a single lock nut. Slide the bolt forward from the rear. Insert three stainless steel washers between the bracket and the top of the shock mount to act as spacers. Reattach the shock and the rear wheels.
Special Considerations
This installation requires you to spend considerable time under a lifted ATV. Always brace the jack stands to prevent drops, and make sure the components you're working with are all in good condition before you take them on the trail. While you're working, remember to wear eye protection to keep oil and grease out of your eyes, and work gloves to protect your hands. Never improvise with tools, but use the right types and sizes for each task.
Test the Installation
Once the installation is finished, gently lower the ATV back onto level ground. Watch for unexpected sagging or tilting in the way it rests; this could indicate a bad connection or faulty part. Put on your helmet, and take the vehicle out to test the new suspension. Start on level ground at low speed, and gradually work up to speed on rough terrain to shake out the system.
How to Buy ATV Lift Kits on eBay
Search for ATV lift kits on eBay by typing your search terms into the search bar. Get results that are relevant to your search by applying filters from the results page. Find tools and accessories by browsing category pages. Check each seller's feedback before bidding. For some items, you can skip the bidding process and go straight to checkout by choosing the Buy It Now option from the item page.


